Little bits and pieces of progress.
I remembered an ideal flush fuel cap for my tank - the Jabiru fuel cap. Popped the factory a mail, to see if they will sell them separately, but they didn't even bother replying, so I assume they don't. Fortunately the design is incredibly simple, so I thought I would give it a bash:
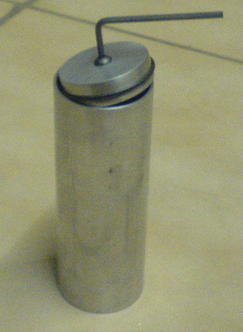
- dsc00266.jpg (11.75 KiB) Viewed 2866 times
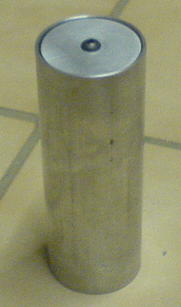
- dsc00267.jpg (9.52 KiB) Viewed 2866 times
Absolutely leak proof, and takes about 40kg of force to move it when tightened. I am a belt and braces guy though, so I will make it fasten to the fuselage skin too.
Also did some work on the cable brakes, before Tailspin talked me into disk brakes:

- dsc00268.jpg (11.13 KiB) Viewed 2866 times
A simple motorcycle brake handle to mount to the control column. A little pulley doubler increases the cable tension. Gives the same cable tension as the original long lever, but obviously total movement is much smaller. Can only work if the brakes are perfectly adjusted.
And the finger filter and welding flange for the fuel tank:
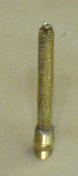
- dsc00270.jpg (5.07 KiB) Viewed 2866 times

- dsc00271.jpg (6.71 KiB) Viewed 2866 times
I will take the tank for welding on Saturday, and start the flow tests next week.